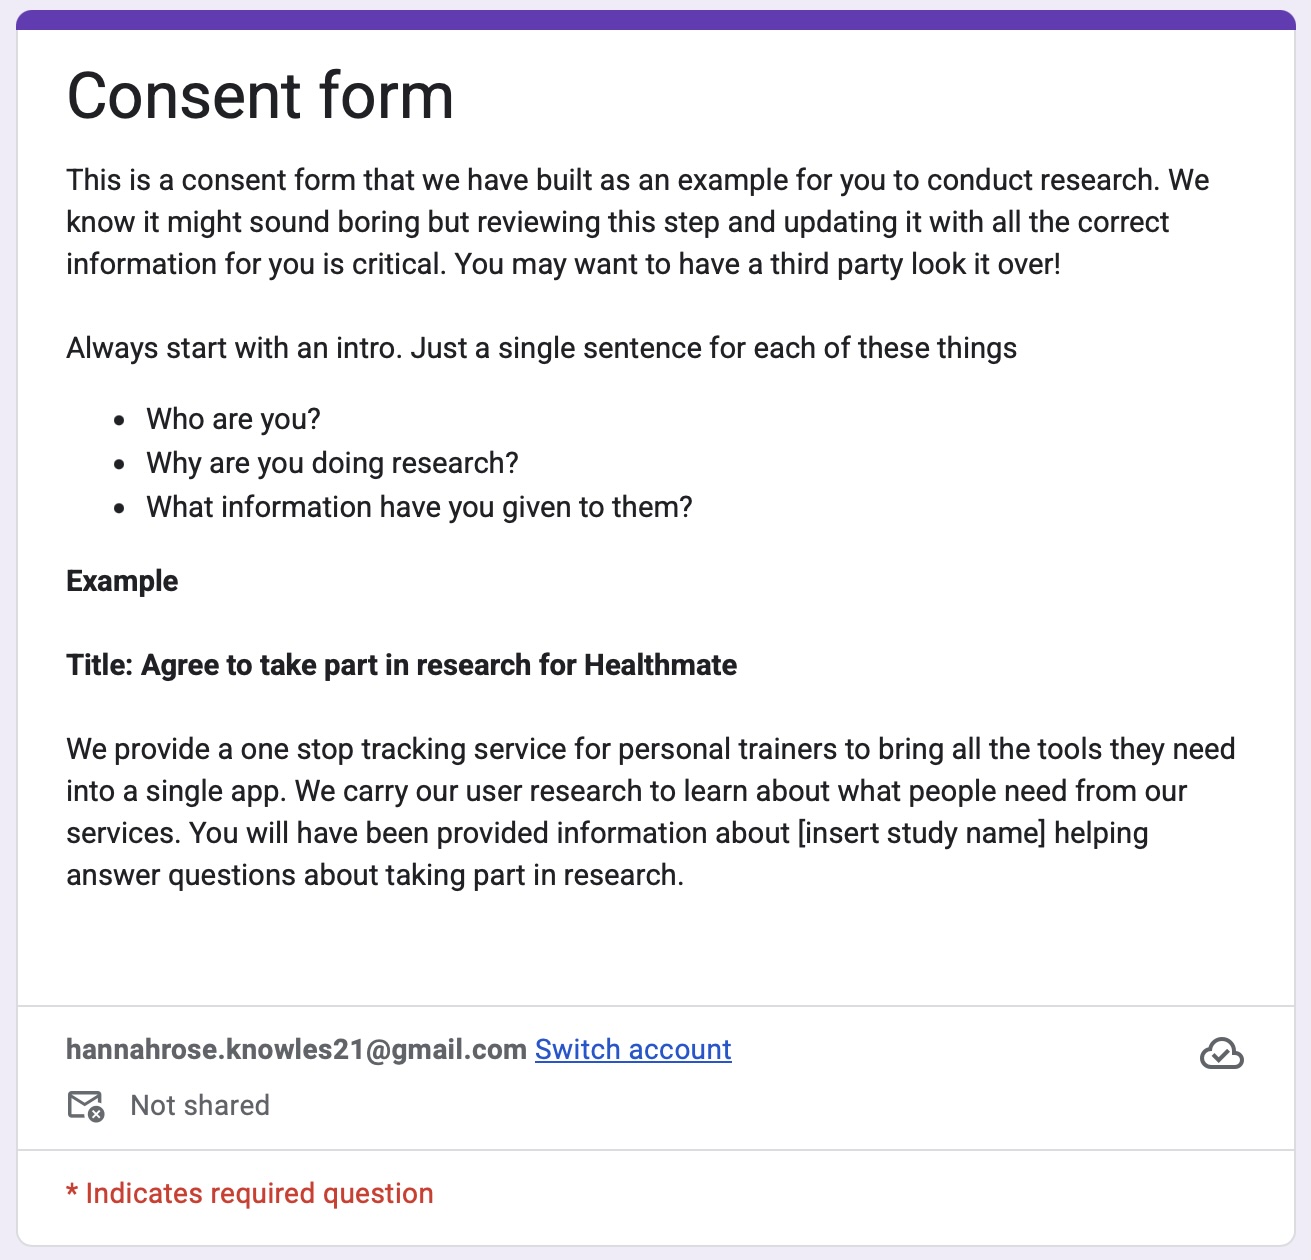
Consent forms don’t to be full of legal jargon and scare the living daylights out of your users. But they do need to be compliant! We have pulled together your own guide to consent, before we get started with any research we recommend that review this stage and build your own consent form.
The number one rule for writing a consent form is simple: Keep it simple. Because if your participant is drowning in jargon, can you really call it "informed consent"?
When I first started out, consent forms were easy. Then GDPR arrived, everyone had a small panic, and suddenly these documents became longer than War and Peace. We’ve reached a point where we treat consent like a robot writing for a courtroom, but that’s a trap. A research form shouldn't be a hurdle; it’s a baby step toward forming trust.
Someone far smarter than me once described research like making a documentary about a service or product. In that world, the people we research with aren't "subjects"—they’re our partners.
Don’t shove a form under someone’s nose five minutes before you start. Send it at least 24 hours prior. Give them the space to read it, process it, and ask questions without feeling like they’re being rushed through a checkout line.
The biggest mistake designers make is being too vague. Don’t just call it a "usability test." Give them enough detail to make a real decision. What does the study involve? What kind of questions are you going to ask? Avoid the research jargon and tell them exactly what to expect.
Stay organized to keep the project from falling over. I use two specific follow-up emails:
1. The Prompt: A gentle nudge for those who haven't signed yet.
2.The Reassurance: A confirmation for those who have signed, reminding them exactly what they’ve consented to.This isn't just admin; it’s about giving the participant a feeling of equal power.
A consent form is a safety blanket you wrap your participant in. If they refuse a certain part of the form, or the whole thing? No judgment. Reassure them. Your job is to make them feel safe, not to coerce them into a signature.
Treating your Research Ops with professionalism isn't about looking "corporate"—it’s about respect. People share some of the most important, vulnerable moments of their lives with us. I don’t work on trivial products, and neither do you. Handling their data with care is how we honor that experience.
Now you've written your consent form, its time to add some context to your studies so people know what they're agreeing too.